
Plant Tulips like a Pro: From Bulb Selection to Blooming
Table of Contents
ToggleMaster the Art of Tulip Planting: A Step-By-Step Guide to Bloom Like A Pro
I. Choosing the Perfect Tulip Bulbs
Alright, so you want to transform your backyard into a vibrant splash of colors with tulips? Well, my friend, roll up your sleeves and let’s dive right in.
First things first. Not all tulips are created equal. Some are early risers (like your pesky neighbor who starts mowing his lawn at 6 am) and commence blooming as early as March. Others like to take their sweet time and will grace your garden with their presence in late April or May.
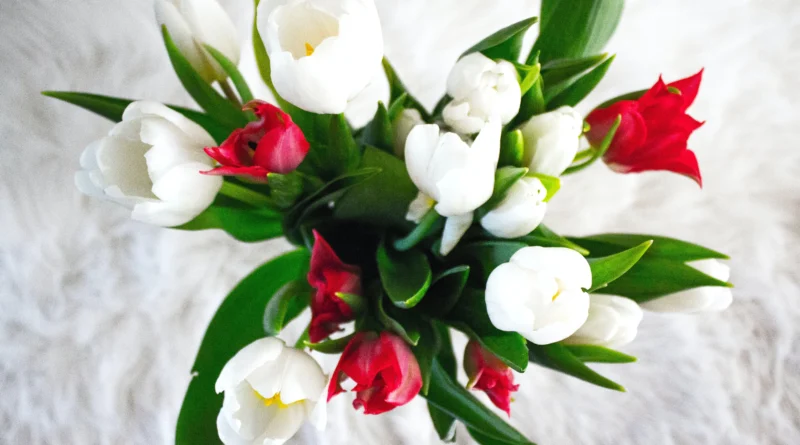
Early Spring varieties: These are your Kardashians of the tulip world. They’re not shy, and they love attention. They burst out in full color as soon as the snow thaws, so it’s hard to ignore them. Prime examples include ‘Purple Prince’ and ‘Red Emperor’.
Late Spring varieties: The late bloomers, meanwhile, take a more tactful approach to beauty. They’re considered the divas of tulips and include flashy types of tulip like ‘Bruine Wimpel’ and ‘Columbus’.
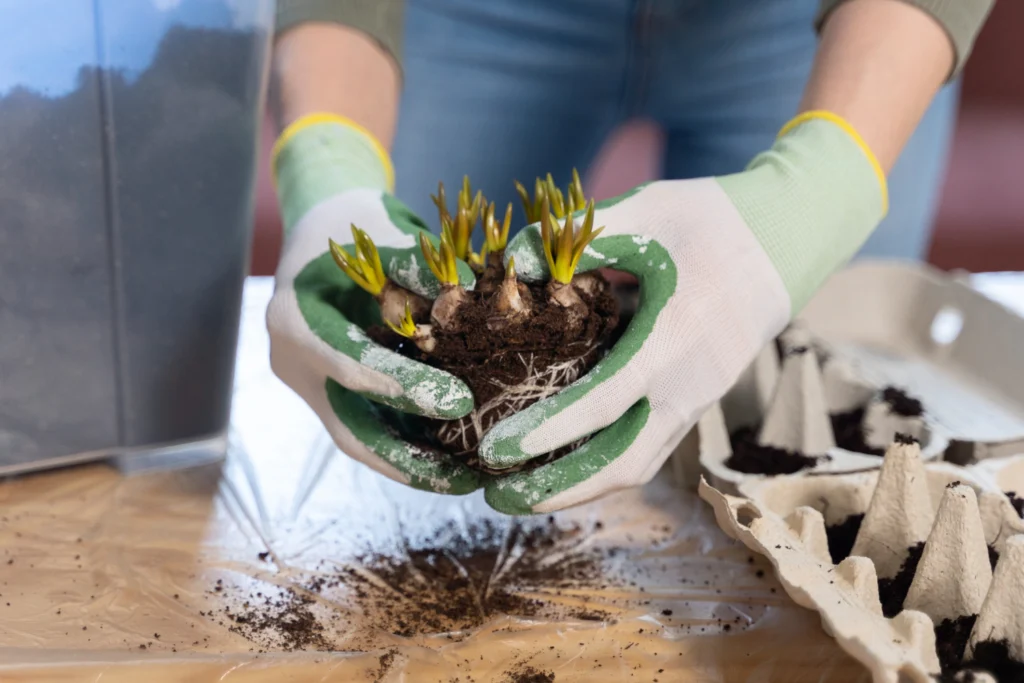
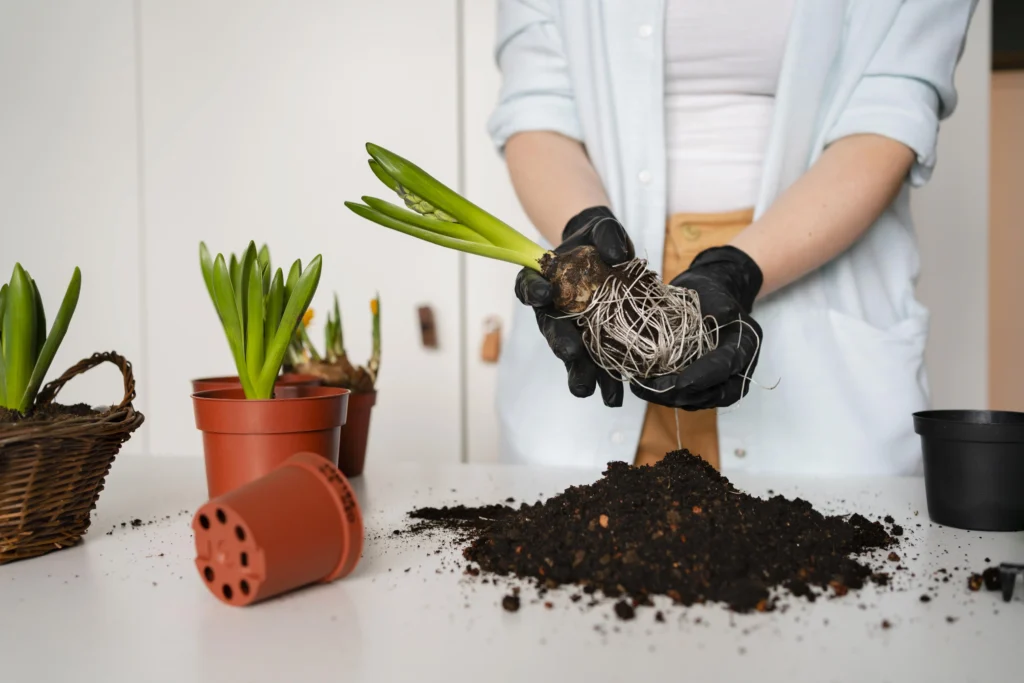
Don’t be fooled by appearances—bulbs can be as deceptive as Instagram filters. A good-quality tulip bulb should be firm, plump, and carry a realistic “before and after lockdown” weight. Small, lightweight bulbs are often a sign of poor health.
A smooth, blemish-free skin is also crucial. Stay clear of bulbs with obvious signs of mould or any suspicious-looking blemishes. Healthy bulbs should have a hue similar to the tan you get after a week hanging out at the beach, but if you spot a suspiciously grey, fuzzy mold—run for the hills.
The best time to buy tulip bulbs is like scoring concert tickets—you got to be in the right place at the right time. Late summer or fall is usually the ideal time to hit the stores or raid online catalogues.
When buying online, stick to reputable retailers. Just as you wouldn’t buy sushi from a gas station, don’t purchase bulbs from dodgy websites. Your local garden center is also a great option—if you’re lucky, they might have a resident tulip expert ready to spill all the dirt (pun intended) on bulb selection.
II. Preparing the Planting Site
Location, location, location! It’s crucial both for real estate and tulip planting. Tulips require full sun, they need need a solid 6 hours of direct sunlight—think prime sunbathing conditions. As for drainage, imagine your bathtub after a long bubble bath—water should be able to flow freely. No one wants a swamp for a garden, right?
Tulips aren’t too fussy about their bed of soil. They can doze off in any well-draining soil with a neutral to slightly acidic pH (6.0–7.0 to be precise). A little compost or well-aged manure mixed in wouldn’t hurt either. Call it their version of a comfy pillow.
Now, where were we? Ah yes, ensuring your planting site feels like a five-star resort for your bulbs. Dig a hole about three times the size of your bulb. Imagine being tucked into a spacious bed—that’s exactly how your tulip bulbs want to feel.
III. Planting the Tulip Bulbs
When it comes to tulips, timing is everything. Planting too early can lead to early sprouting (and, trust me, no one likes an over-eager tulip). Late September to November, when summer has officially waved goodbye, is the best time.
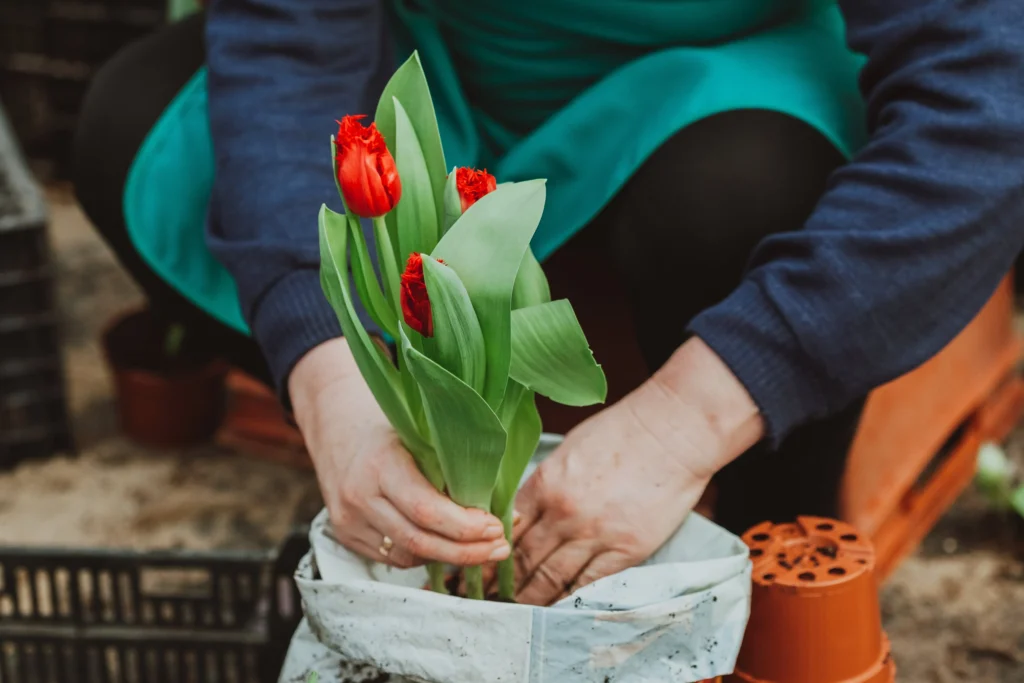
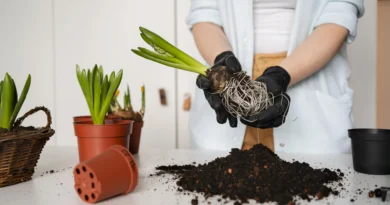
So, you have your bulbs ready, now what? Place the bulb into the hole with the pointy end facing up—like a tiny gnome hat—and cover them up with soil. They need their beauty sleep undisturbed, so no need to water them right after planting.
To create a gorgeous impact, consider group planting. Planting bulbs one by one feels like listening to an orchestra where only one instrument plays at a time—flat and uninspiring. Space them approximately 5 inches apart for some “me” space but still keep the gang together.
IV. Caring for Your Planted Bulbs


Now, this might feel like a no-brainer, but watering needs precision. Overwatering can cause bulb rot while underwatering can result in droopy, unsatisfied flowers. An inch of rain or an equivalent amount of water per week is their favorite cocktail.
Few things can rain on a tulip’s parade—a nosy weed, some hungry pests, and nasty diseases. Regular mulching can prevent weed growth, while the right pesticides can handle pest nuisances. As for diseases—avoiding waterlogged conditions can save your bulbs from an untimely demise.
Have you ever felt lackluster due to an irregular meal schedule? Well, tulips can relate. Fertilizing in the autumn with a slow-release granular fertilizer will keep them well fed and blooming their very best.
V. Encouraging Healthy Blooming
Just like you wouldn’t emerge from your cozy bed if it’s too hot or too cold, growing tulips need the temperature to be just right. Cool winter and early spring temperatures, followed by warmer days trigger tulip bulbs to sprout and bloom. Keep an eye on the forecast and adjust as needed.
Tulips need a little TLC, too. Once tulips flowering have finished, remove the faded flowers – think of it as sending them off into a well-deserved retirement.
As the season ends, lean back, take a sip of your iced tea, and admire your gardening prowess. But, don’t get complacent—there’s always the next season to prepare for. Trim foliage only when it has fully yellowed, and consider digging up and storing bulbs in a cool, dry place if your winters are harsh.
VI. Conclusion: Recap and Next Steps to Master Tulip Planting
So, what’s the secret sauce to master tulip planting, you ask? Well, it’s no secret. The right bulbs, the right location, a touch of TLC, and voila—you have yourself a yard full of vibrant, show-stopping tulips that would make even a Dutch tulip farmer blush with envy. So what are you waiting for? Happy gardening!
VII. Frequently Asked Questions (FAQs)
A few questions are bound to pop up when you’re nurturing these botanical beauties. Let’s address some of the common ones.
Why, of course, they can! They’ll need a chilling period, though—about 12-16 weeks in a place as chill as your refrigerator.
Sadly, cut tulips can’t be replanted. They’re the one-hit-wonders of the flower world.
They certainly can, as long as they’re not drenched. A soggy winter might lead to the bulbs rotting away.
Tulip bulbs occur naturally year after year from existing tulips. To obtain new bulbs, tulip seeds must be planted, but it may take several years before viable bulbs are obtained.
Place the tulip bulbs. Cover with a layer of potting soil of approximately 4 inch (10 cm) . Then place your daffodil bulbs staggered in relation to those of the tulips.
Remember, gardening is a game of trial and error. Sometimes you may feel like you’re playing floral Russian roulette, but don’t worry. With time, patience, and a whole lot of love, your garden will blossom with tulips that’ll make your heart bloom. Now, get out there and show those tulips some love!

Pingback: All You Need to Know About the Bird of Paradise Flower » House & Garden insider